
Cloud-Free AI: How to Use Ollama and OpenWebUI for Limitless LLM Access
Interested in generative AI, but hesitant to send your data to the cloud? Maybe you are already using ChatGPT, Claude or Google LLM but keep hitting daily limits. Perhaps your company restricts public AI access or you would rather avoid another recurring expense on your credit card. The good news? You can run many powerful AI models locally using a combination of Ollama and OpenWebUI—no cloud, no limits and no extra costs!
In the following article, I'll briefly explain the Ollama and Open WebUI technologies and then walk you through the required setup to get the DeepSeek LLM, and others, up and running locally. First, a brief overview of Ollama and Open WebUI.
About Ollama and Open WebUI
Ollama is an open-source app that allows users to run large language models (LLMs) on their own computer. LLMs are AI programs that can generate and understand human-like text, code, and perform analytical tasks.
Open WebUI is an open-source project designed to provide a web-based user interface for interacting with machine learning models, particularly LLMs. It allows users to deploy, customize and interact with these models via a browser-based interface. OpenWebUI simplifies accessing powerful models for tasks like text generation, question answering, summarization or other AI-powered applications.
What’s the Catch?
There is no catch per se, but you do need to meet certain hardware requirements, one of which is a GPU with at least 4Gb of dedicated video RAM. When creating this article, my team and I used an older laptop with a i7-9950 CPU, 16 Gb RAM, and an NVIDIA Quadro T1000 with 4Gb of video RAM. We did not run into any issues with our test system, but did not try anything less powerful.
In general, the more powerful the system in terms of the video card and video memory, the faster the LLM response will be. A more powerful system will also let you run larger models which will give better, more accurate responses.
Installation
Open WebUI installation can be accomplished in a number of ways, including Docker. However we choose the more traditional installation using Ollama, Python and Open WebUI. Let’s get started.
Install Ollama (1 of 3)
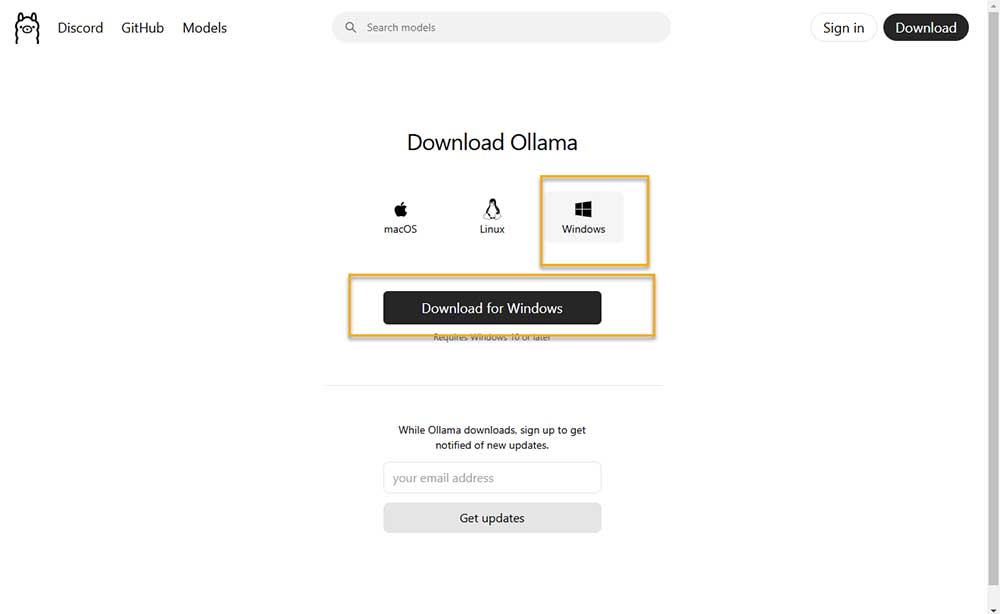
The first step is to download and install Ollama using this URL: https://ollama.com/download
Choose the appropriate option, macOS, Linux or Windows (our choice). Click the ‘Download for Windows’ button and then locate the installer in your Downloads folder.
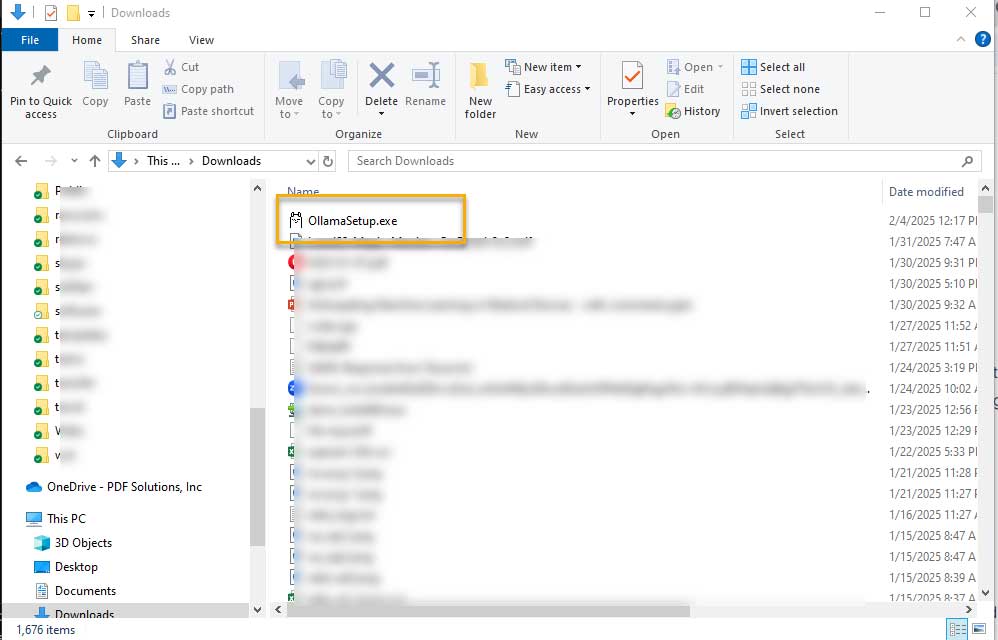
You can either double click OllamaSetup.exe or run the installer via the Windows Command Prompt. For our installation, we used all the default options. Note that Ollama runs on port 11434.
Ollama has a command line interface. While you can interact with it directly this way, without Open WebUI, we will only use it to install LLM models. The following command will list what models have already been installed. For a new installation, there will be none.
ollama listNext we can install a model. We will pull (download) the latest DeepSeek model that is customized for limited compute power.
ollama pull deepseek-r1:1.5bThat is all we need to do with Ollama though you can experiment with the command line interface. Just type the word ollama to see the options.
Install Python (2 of 3)
The next step is to install Python. Python 3.11 is recommended. If you do not already have it installed you can get it here and run the installation executable.
https://www.python.org/downloads/release/python-3119/We used the Windows Installer (64-bit) with all the default options.
https://www.python.org/ftp/python/3.11.9/python-3.11.9-amd64.exeNext, it is always a good idea to use virtual environments with Python so that your many projects do not interfere with each other. We recommend using the following commands to create and activate a virtual environment named venv. Note that you should first create a directory that will contain the required environment files. We named our directory open-webui, but you can use any name you like.
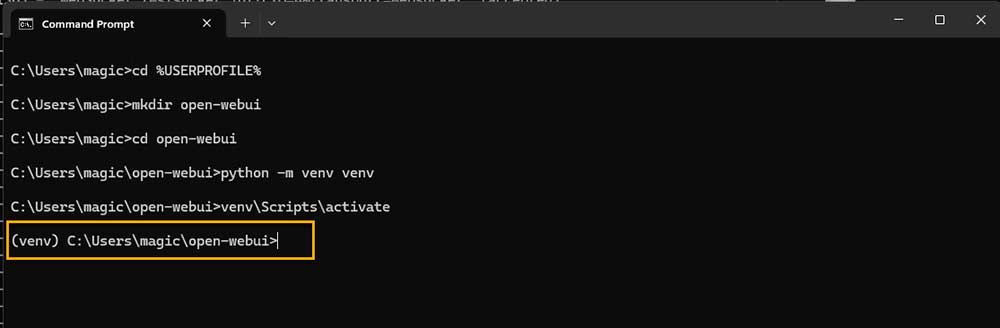
cd %USERPROFILE%
mkdir open-webui
cd open-webui
python -m venv venv
venv\Scripts\ActivateYour command prompt should look something like this. Note the (venv) indicating a virtual environment is active.
Install Open WebUI (3 of 3)
The last step is to install Open WebUI. In the same Windows command prompt in which you installed Python, use the following command to install Open WebUI.
pip install open-webuiYou can get full details on Open WebUI, including alternate installation methods at the following URL.
https://github.com/open-webui/open-webuiRunning Open WebUI
After installation, you can start Open WebUI by executing the following command in the same Windows command prompt
open-webui serveAfter some time for configuration, this will start the Open WebUI server on port 8080. In your favorite web browser, enter the following UI and they you can start your chat session.
http://localhost:8080(Note that it is http, not https by default.)
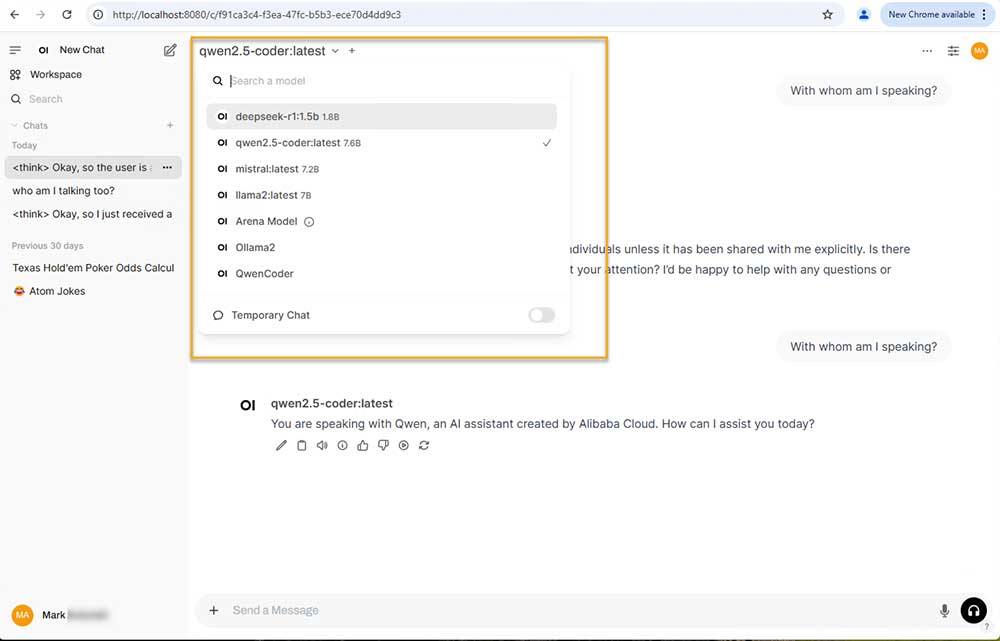
You should see something like the following:
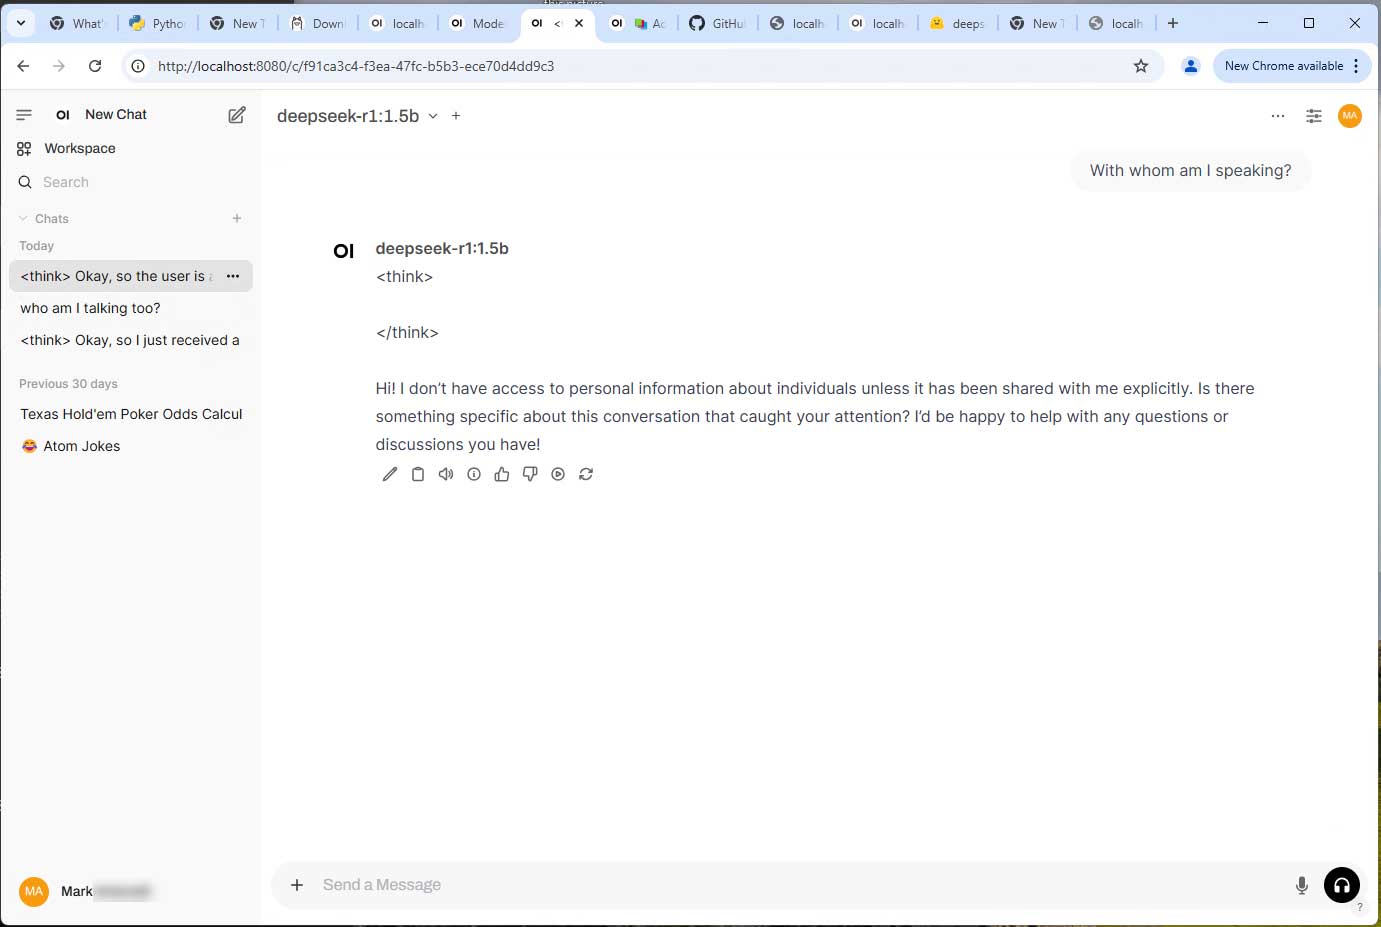
If you have multiple models installed, you may have to initially select the model. In addition, you can set a default model.
If all went well, you are up and running and can interact with your local LLMs free of charge. If so, thanks for taking the time to read this blog! If not, here are some troubleshooting tips.
Troubleshooting
Port Usage
By default, Ollama uses port 11434 and Open WebUI uses 8080. Port 8080, in particular, is used by a lot of applications including Apache Tomcat, Jenkins and proxy servers. You can easily change the port used in the start-up command. For example:
open-webui serve --port 8081Install Additional Models
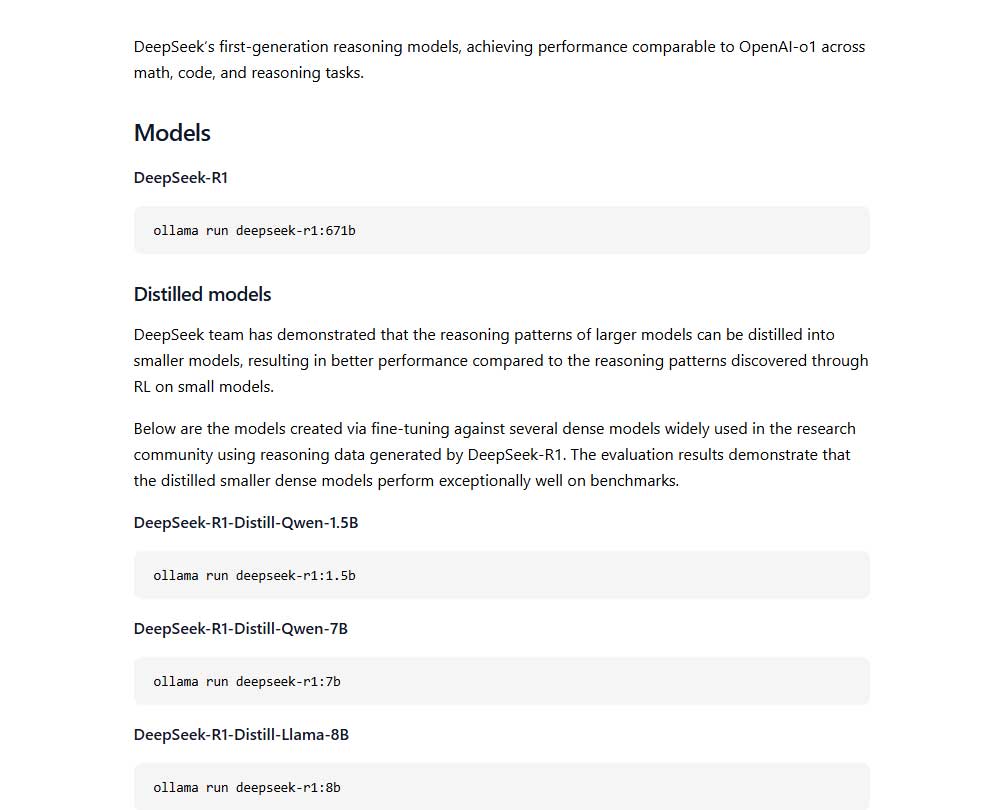
Installing additional models is quite simple. First go to the following Ollama URL to see all available models: https://ollama.com/library
Click thru on the model name link to understand parameters and get the exact name of the model you wish to download. Here is an example for DeepSeek. Note that you will want a distilled model, which is a variation of the base model that is less compute intensive. Finally, you may see the command ollama run. That will both pull and run the model. For purposes of Open WebUI, you should always use ollama pull and then it will run automatically in Open WebUI.
Since we already installed DeekSeek, here is another example where we pull Llama 3.2 from the Windows command prompt.
ollama pull llama3.2:1bTo have this model show up in Open WebUI, just refresh your web page and it should show up as a new option.
Conflicting Versions of Python
If you already have Python installed, you may have concerns about installing Python 3.11 causing version conflicts. Check to see if you already have the Python launcher py installed. If not, you can install it as part of Python 3.11. With the launcher, you can create your virtual environment as follows:
py -3.11 -m venv venvWhenever the virtual environment is activated, it will use the 3.11 of Python.
Final Thoughts
By leveraging Ollama and OpenWebUI, you can unlock the power of generative AI while keeping full control over your data and avoiding cloud-based limitations and costs. Whether you're an individual looking for more flexibility or a business seeking to bypass restrictive policies, setting up AI models locally provides a seamless, cost-effective alternative. With the right tools and setup, you can enjoy the benefits of cutting-edge AI without compromise.
For more on LLMs, read my blog C++ Meets Python: Integrating LLMs into Your Application.